The Native Guy - Honey Product Photography
THE GOAL
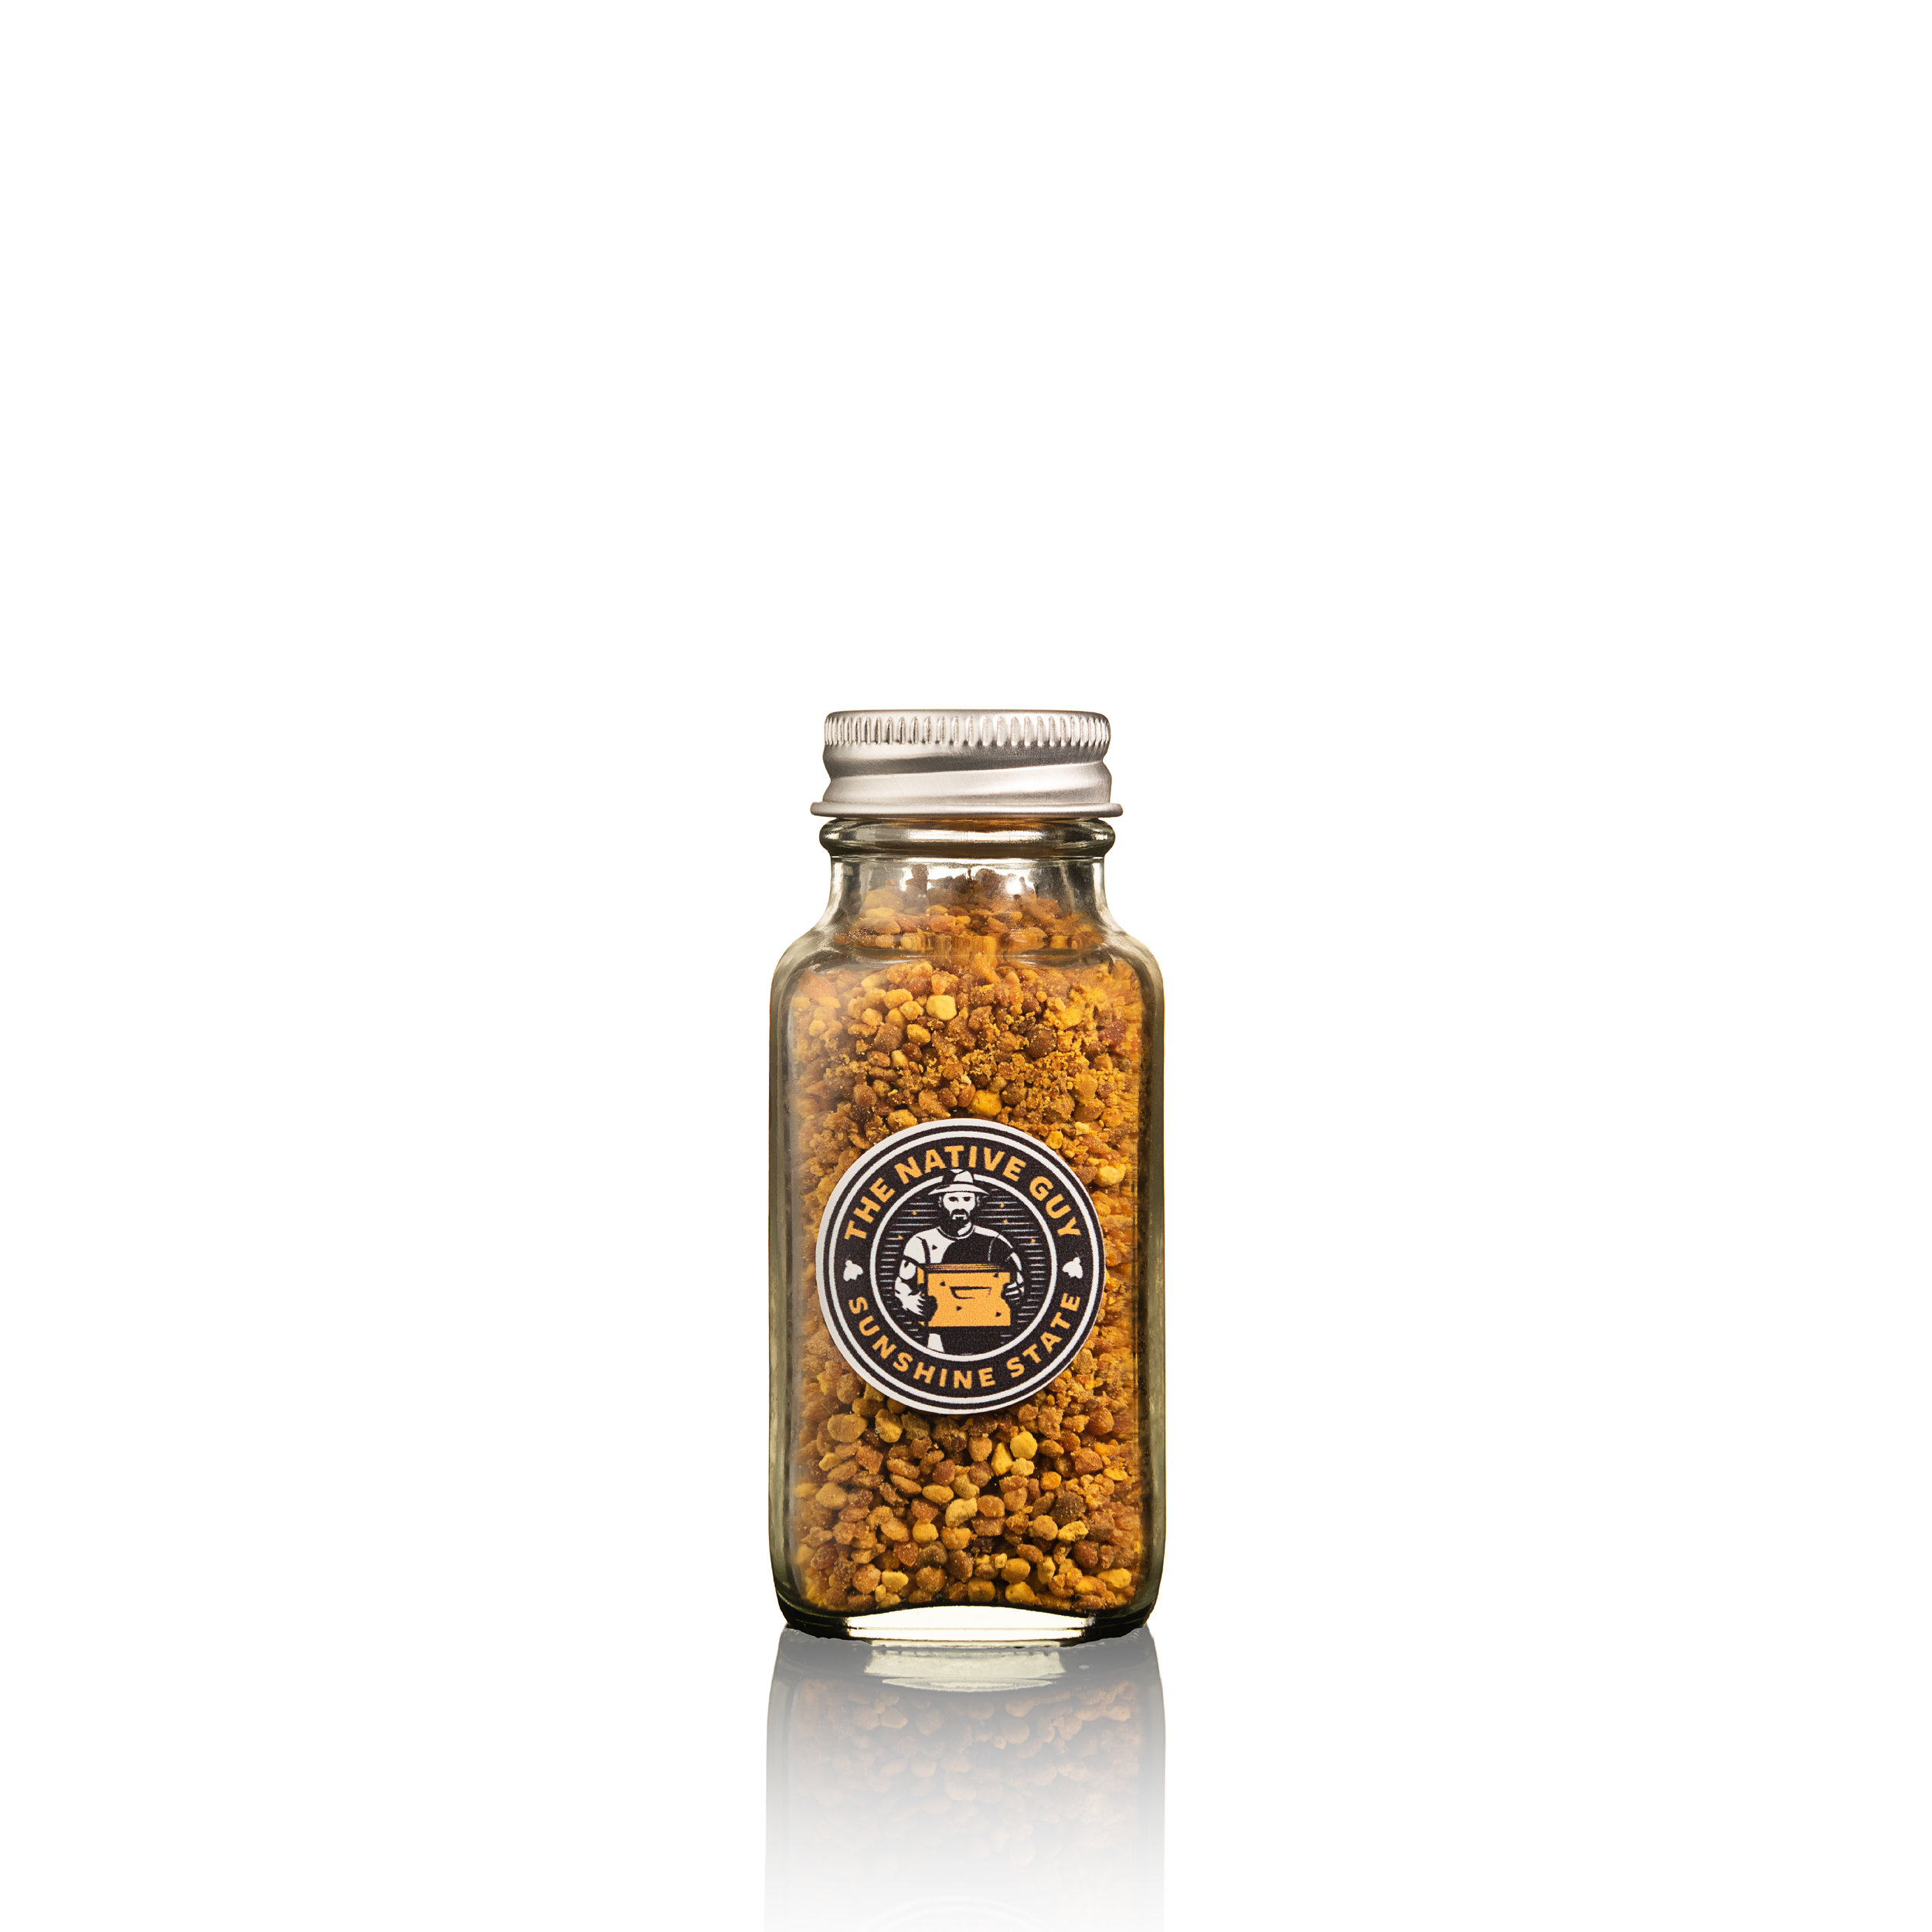
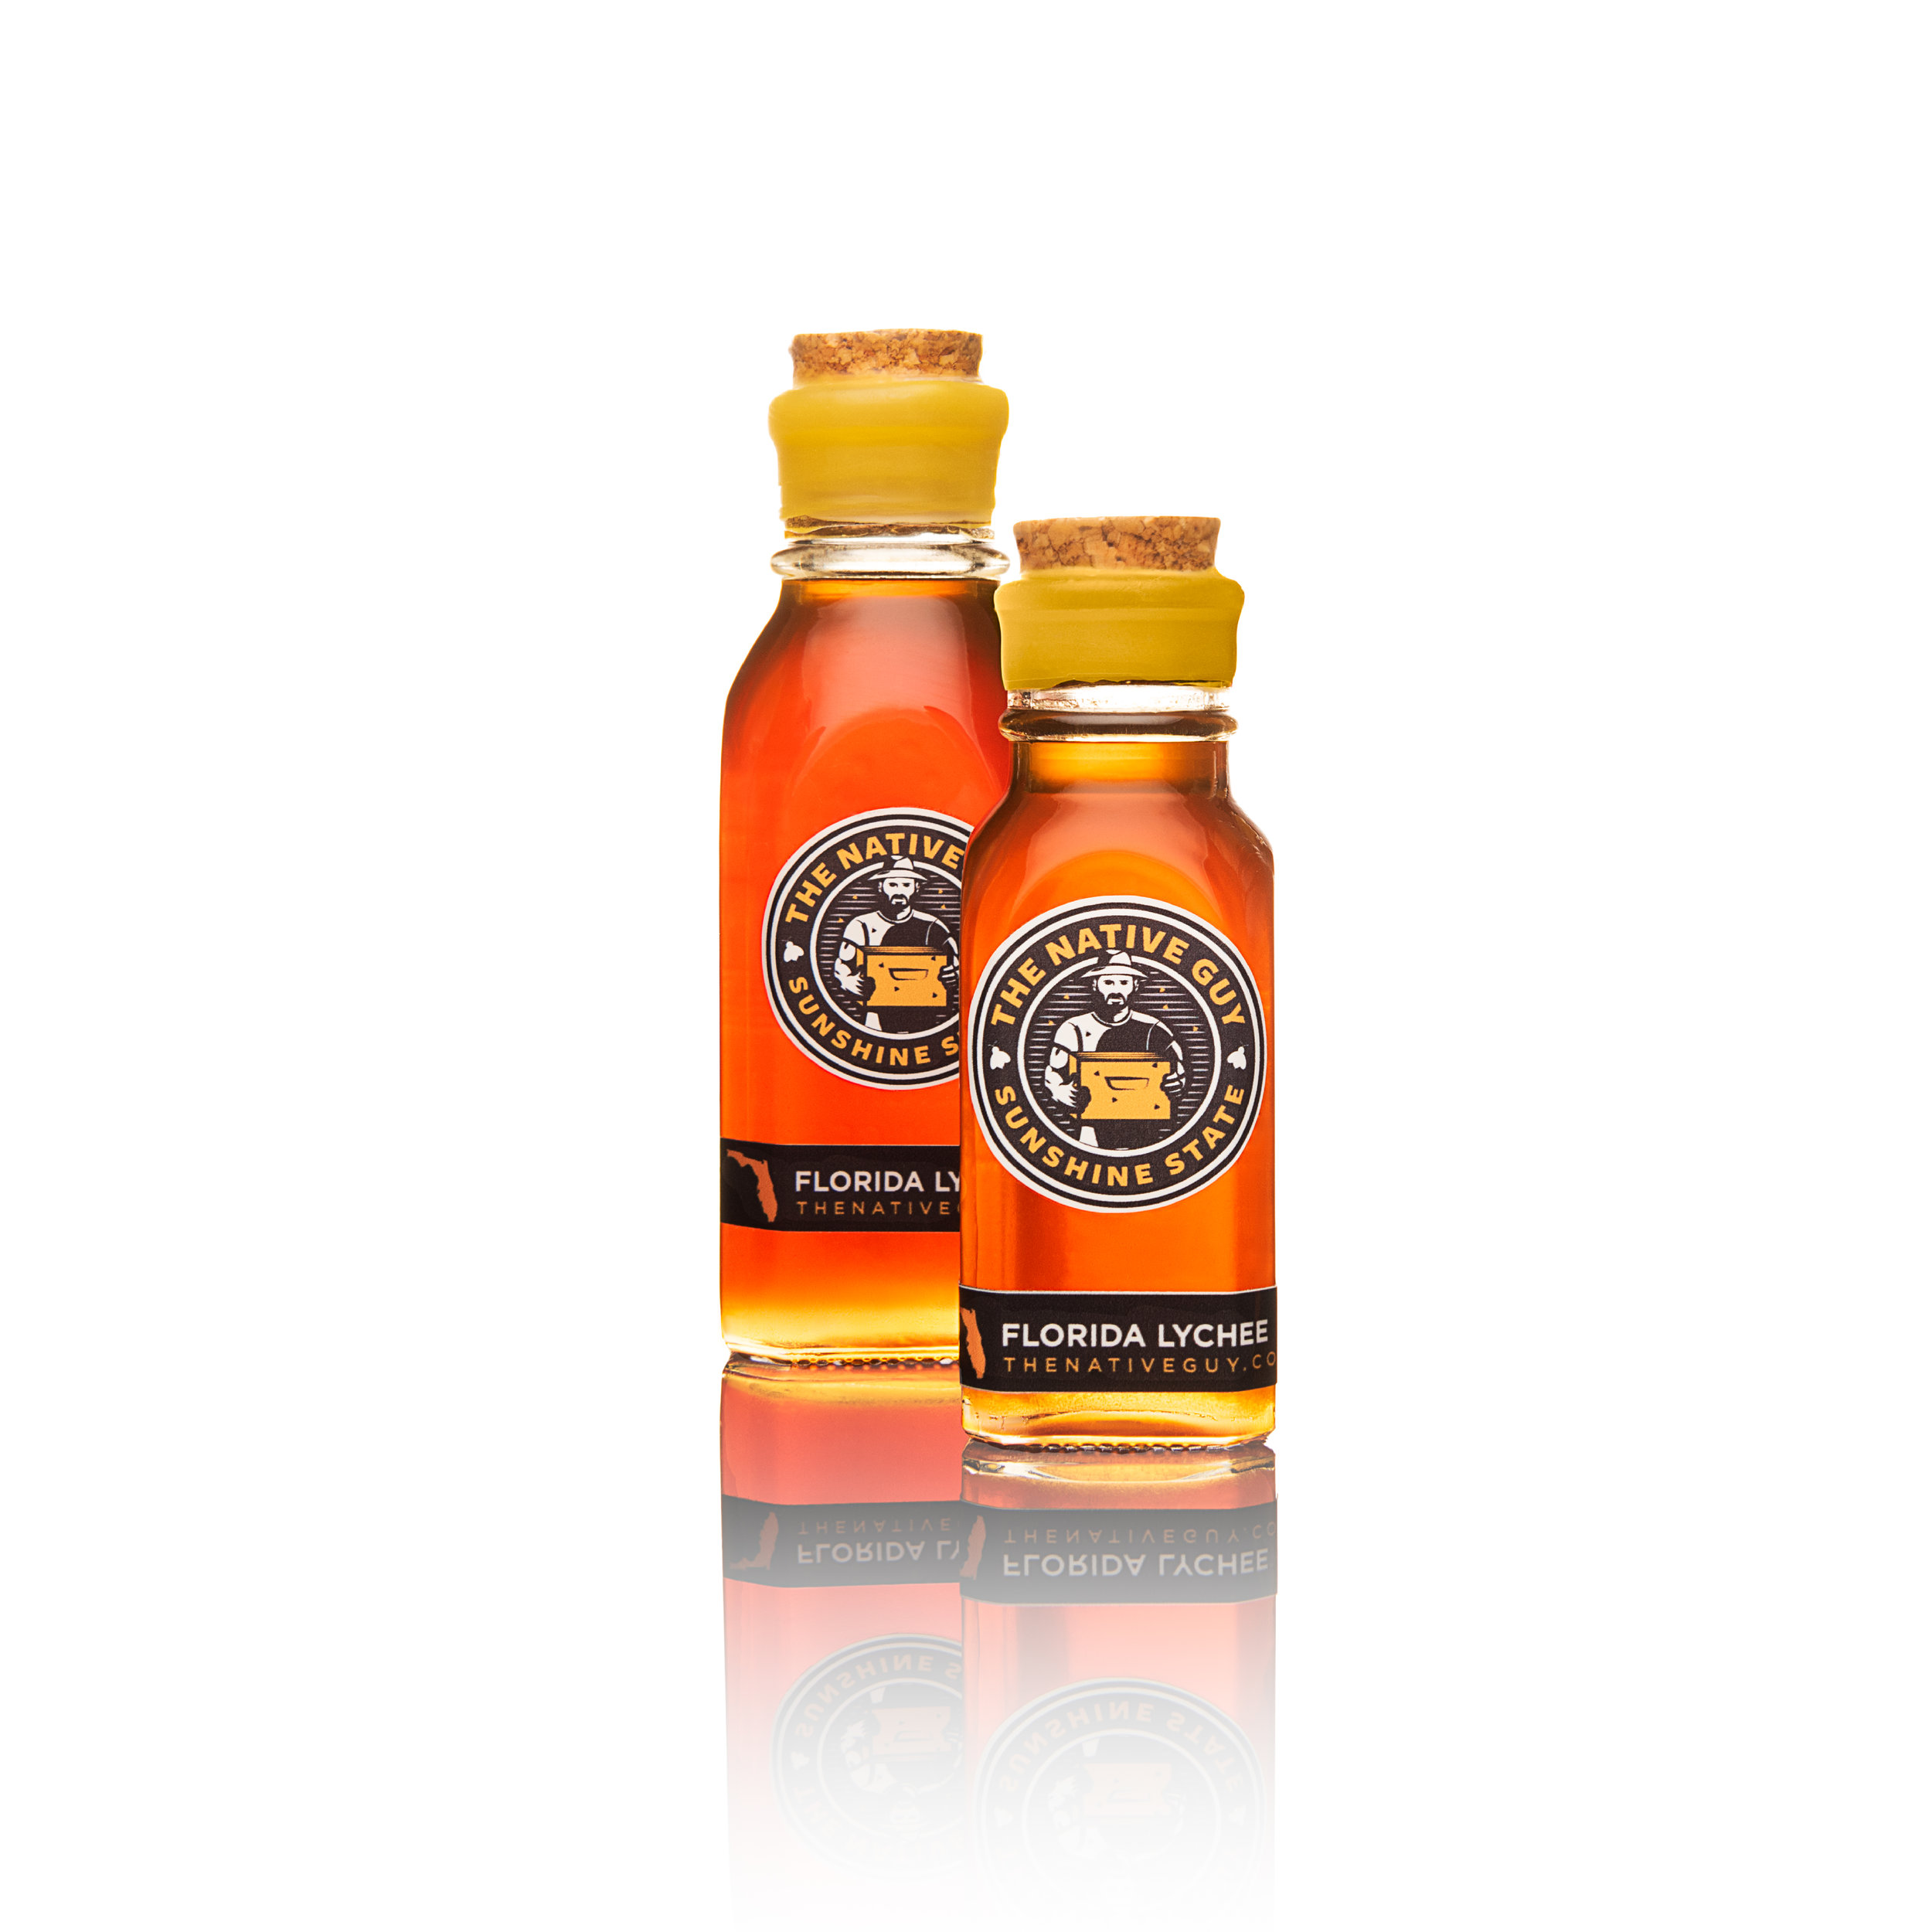
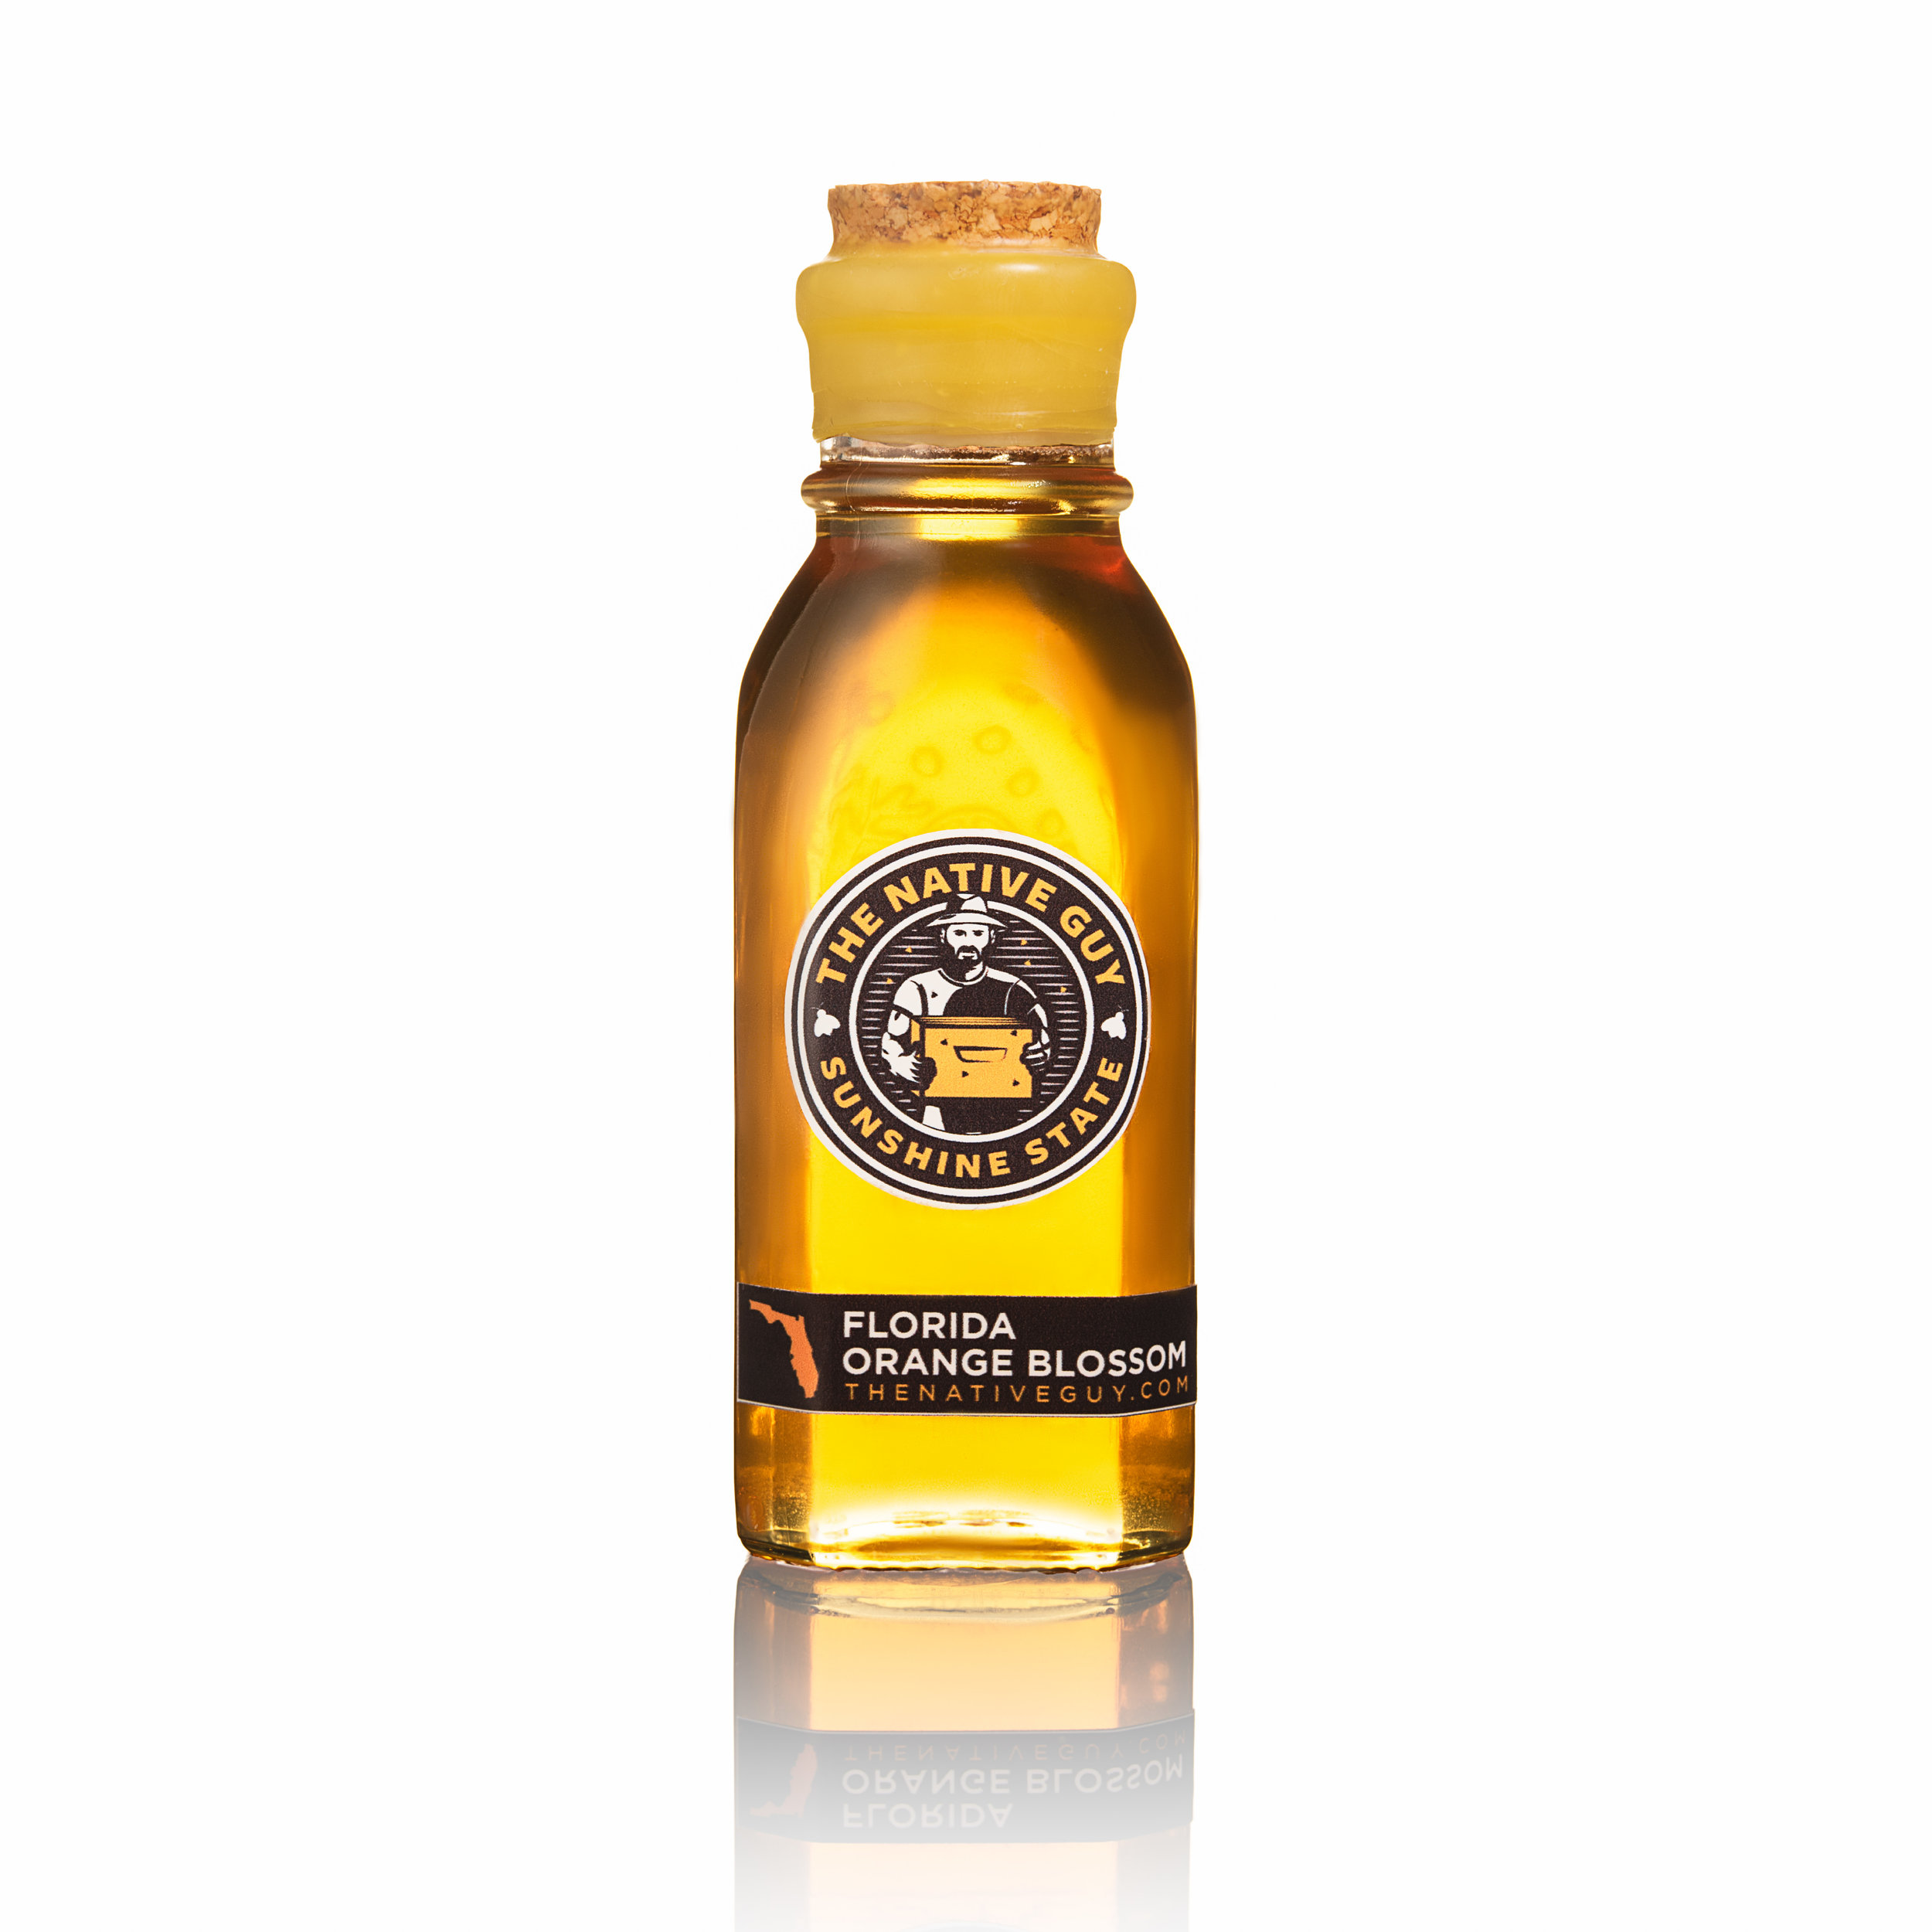
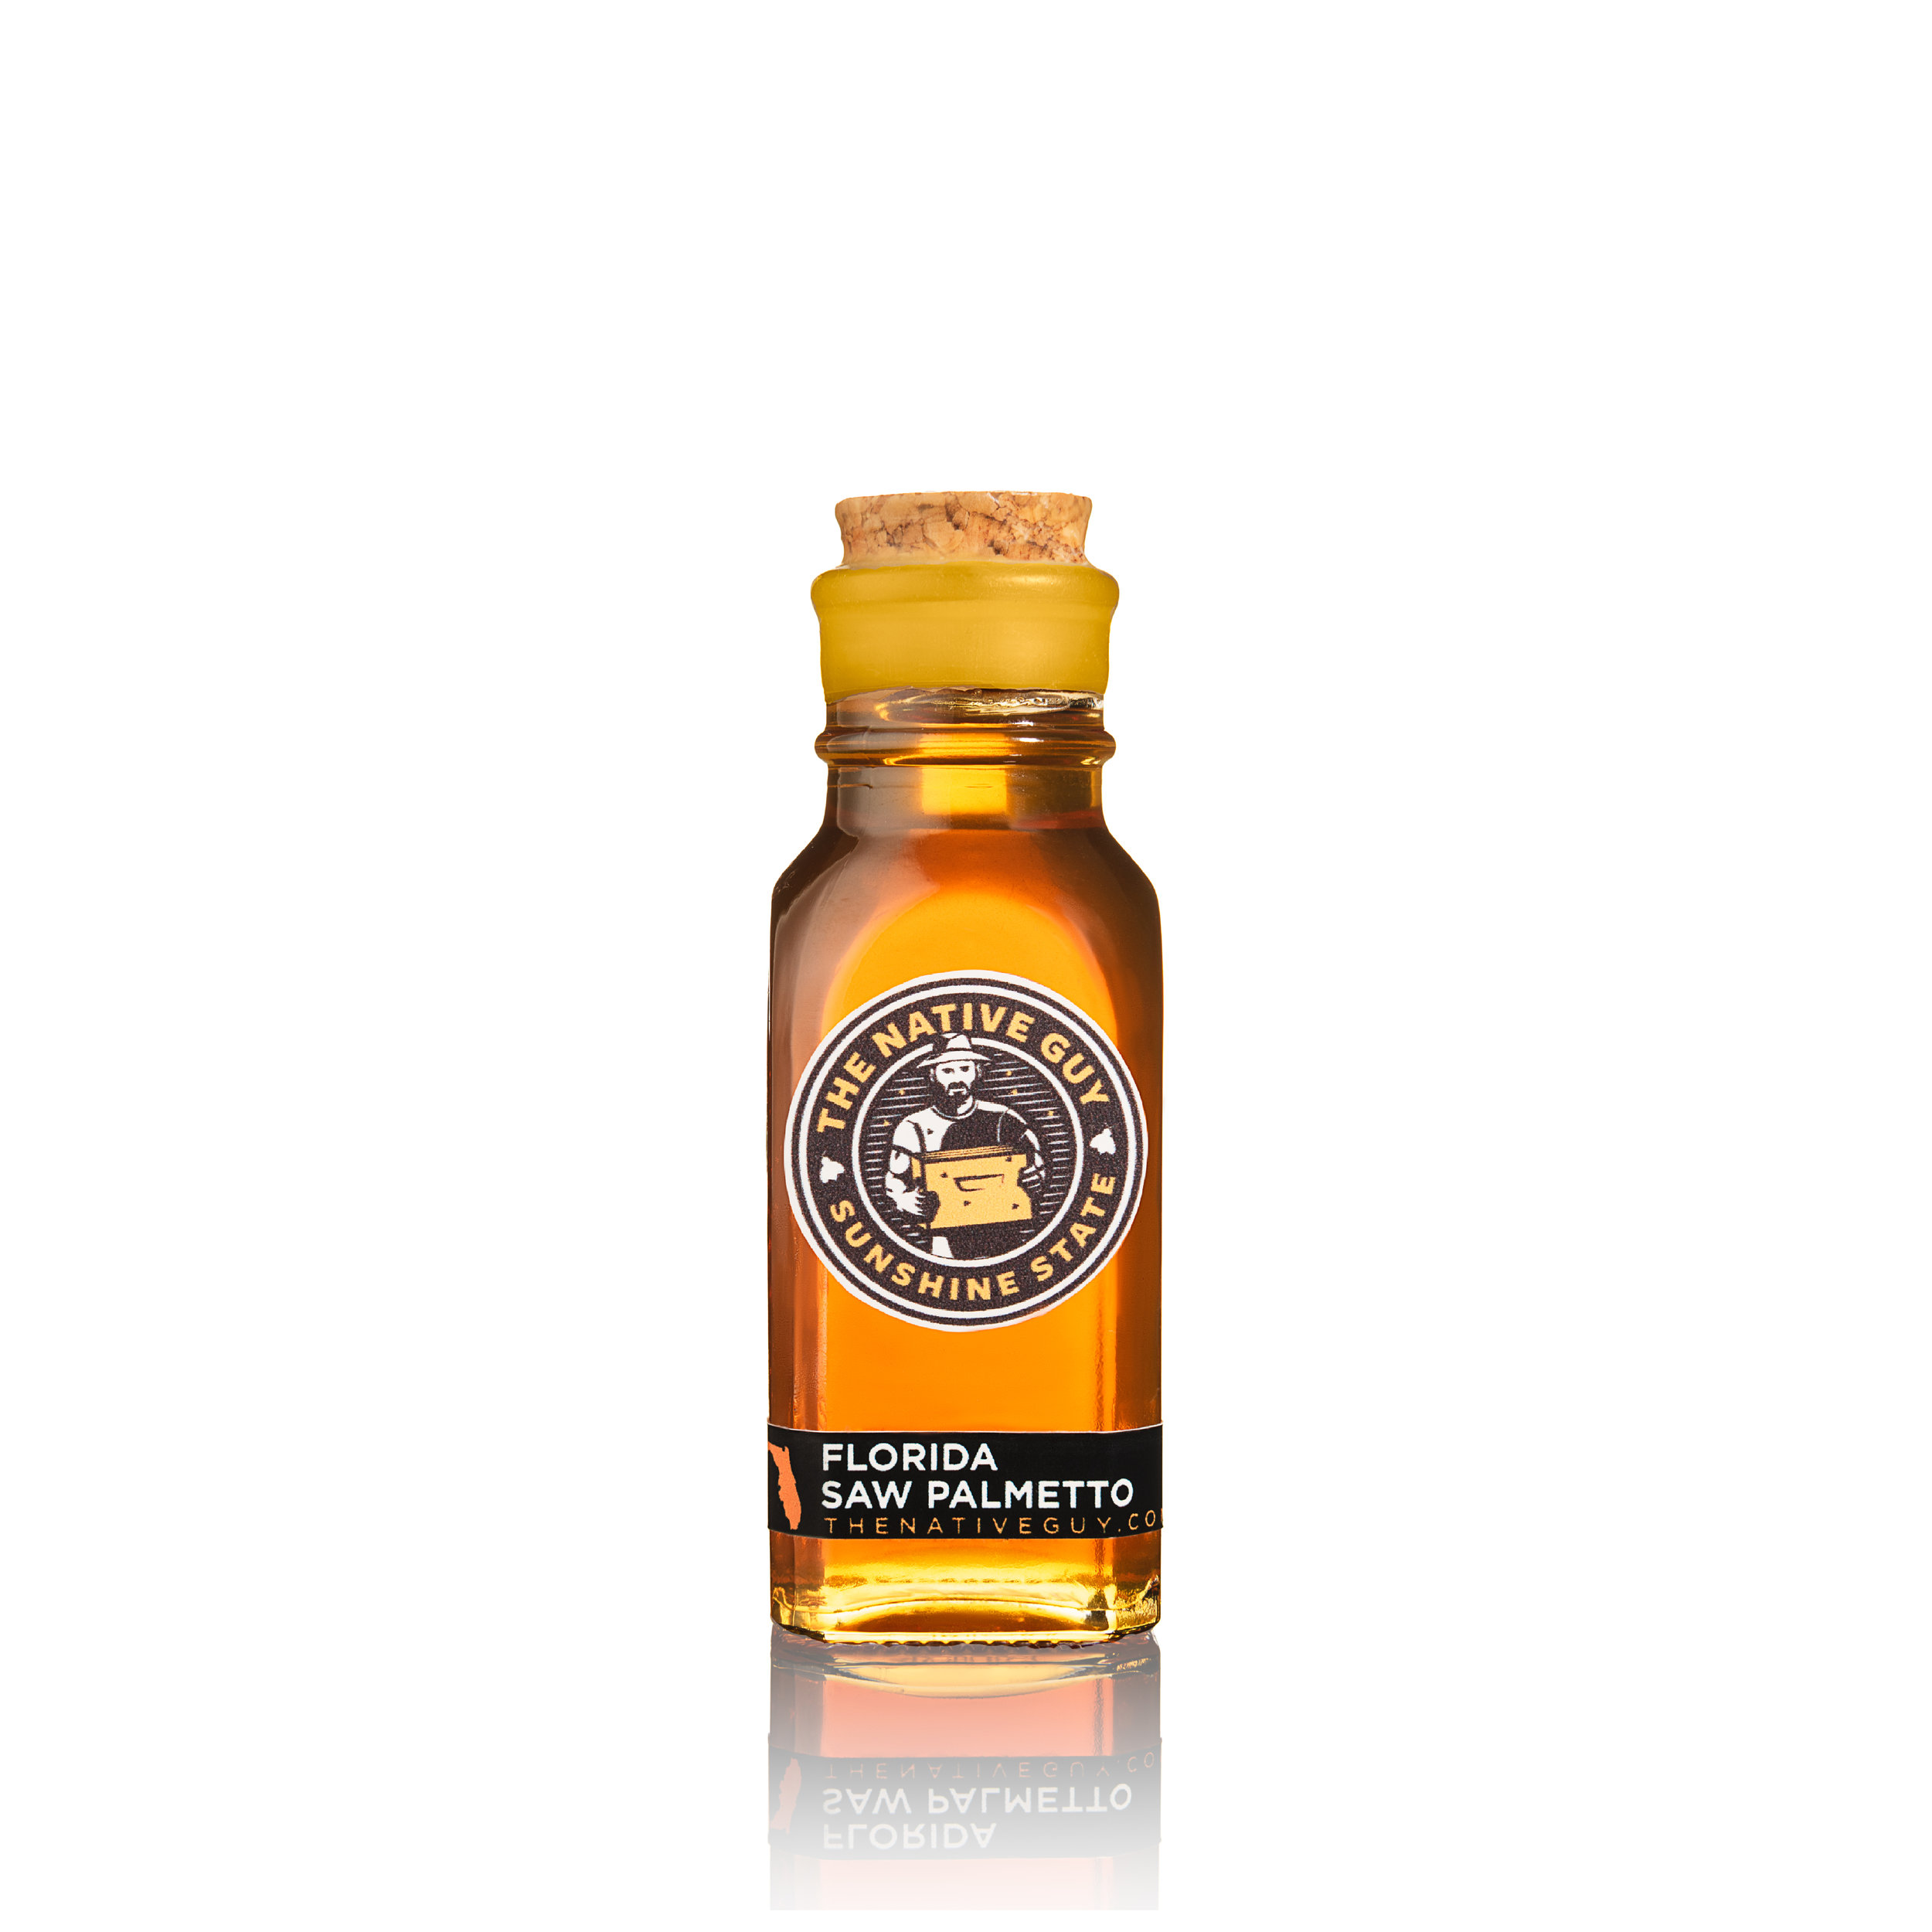
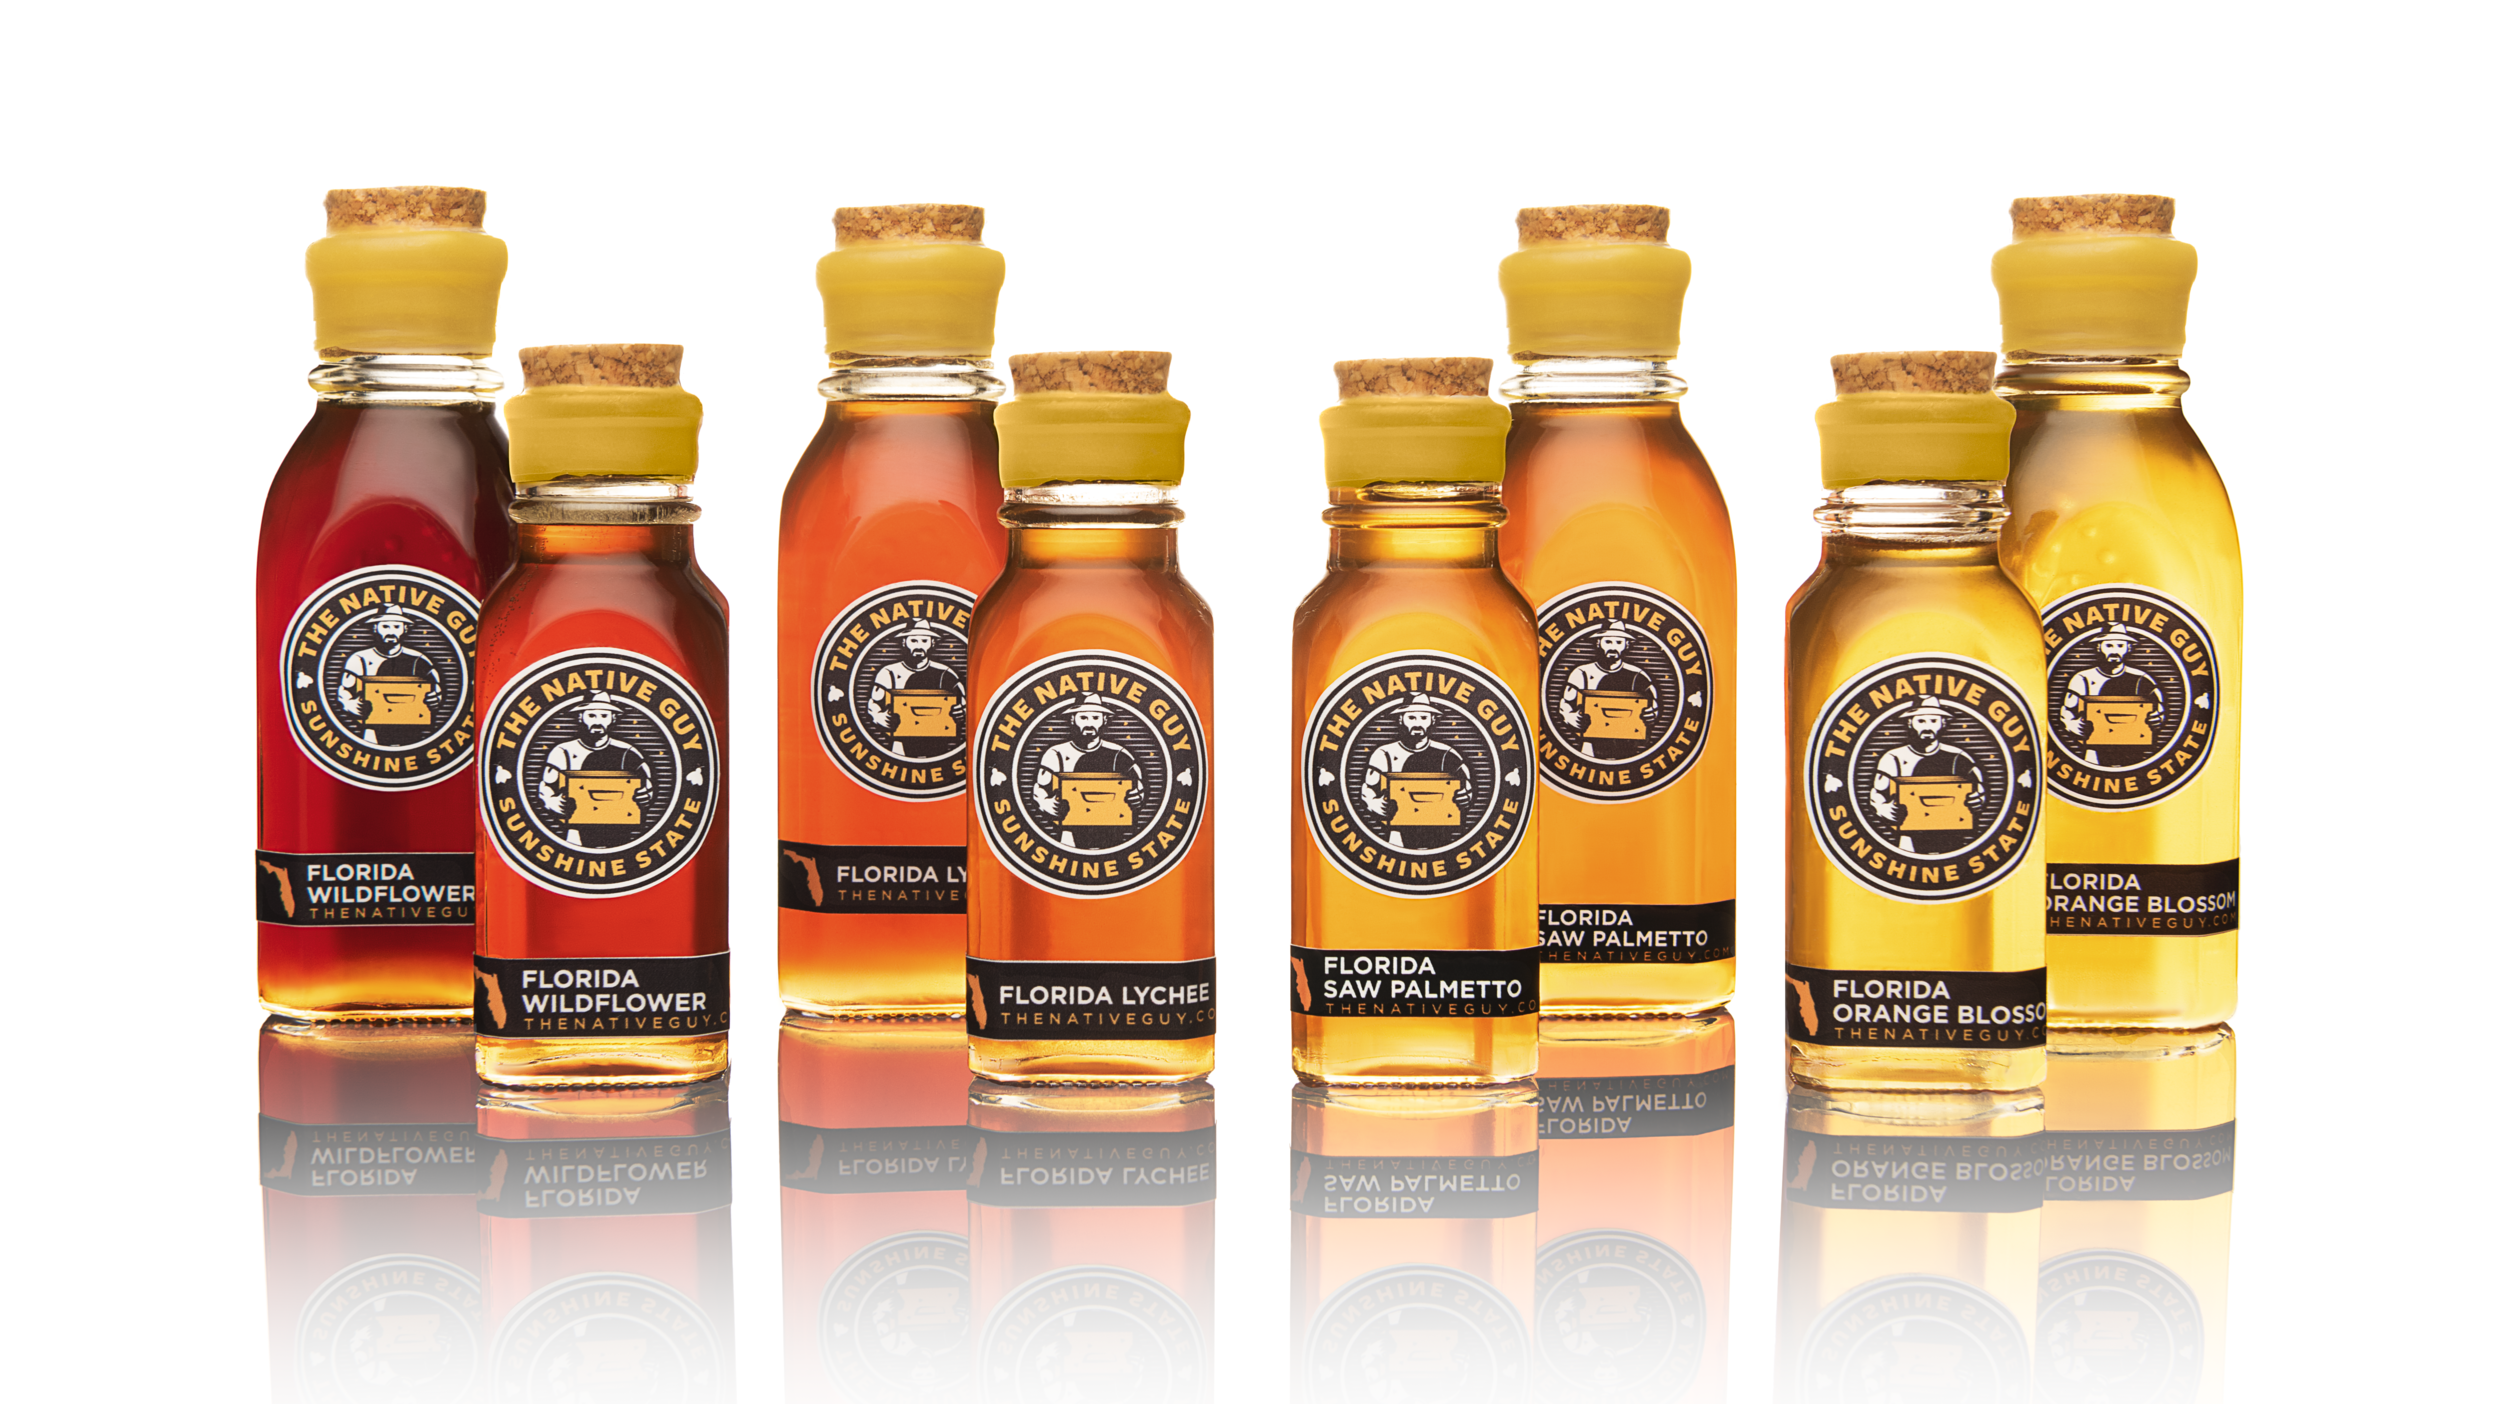
We were contacted by The Native Guy to photograph different variations of their honey jars. The goal of this photoshoot was to photograph the products on a white background. A basic silo shot to showcase the product online and in other mediums. There are four different flavors and two sizes of each. We came up with a fundamental shot list:
Photograph each item individually
Photograph each flavor with both sizes for scale, Small and Large
Photograph all jars together
THE CHALLENGE
When we originally started this it made sense to throw a roll of white paper behind the product. We lit it from both sides to get a nice side gradient by using two XPLOR 600’s in a soft-box. We used a third light with a snoot to bring out the label. After photographing every item, we realized it wasn’t really portraying the feel we wanted. It looked quite bland and had very little depth. You can see a diagram of the first set up and the result, below.
SET UP #1

White paper roll, with two Flashpoint XPLOR 600’s on each side for a gradient side light. A third XPLOR with a snoot for the label. Photograph shot at 70mm.
RESULT OF SET UP #1

Feels bland, boring, and not as appealing.
THE OUTCOME
We decided to re-evaluate the final look for these and came up with a different layout. It felt like we were missing that beautiful glow to showcase the different natural colors of the honey. It needed more depth and a further representation of a luxury brand. If this was the only photo a consumer would see, how can we help sell this product with a simple silo shot?
We traded the roll of white paper for a roll of diffusion paper and backlit it with an XPLOR 600 and a soft-box for softer light. We placed the jar(s) on a sheet of black plexiglass to get a nice reflection at the bottom of the product. When you see the final photo you will notice the plexi looks white, this was due to the backlight technique. Not only does it bring out the color in the honey, it also floods the plexi with bright, white light for a clean look. The second light remained to the right of the product for a soft gradient, and we used a white foam board on the left to capture the spill of the light which would help create an equal gradient to the left. We used the third light with a snoot for the labels as in the previous set up. You can see the diagram of the new set up below.
SET UP #2

Traded the white roll for diffusion paper to allow light to shine through the background in order to capture the glow of honey. We used black plexiglass to set the jars on for a reflection and luxurious look. Light #1 is behind the diffusion paper, causing the honey glow and flood of light onto the plexi, turning it to white. Light #2 is to the right with a softbox and an additional diffuser to soften the light. Light #3 is on the corner with a snoot for the labels. White board to the right capturing the light from #2 and bouncing it back to the left.
RESULT OF SET UP #2

A more vibrant, dimensional shot of the same Florida Wildflower honey.
BEFORE & AFTER SHOTS
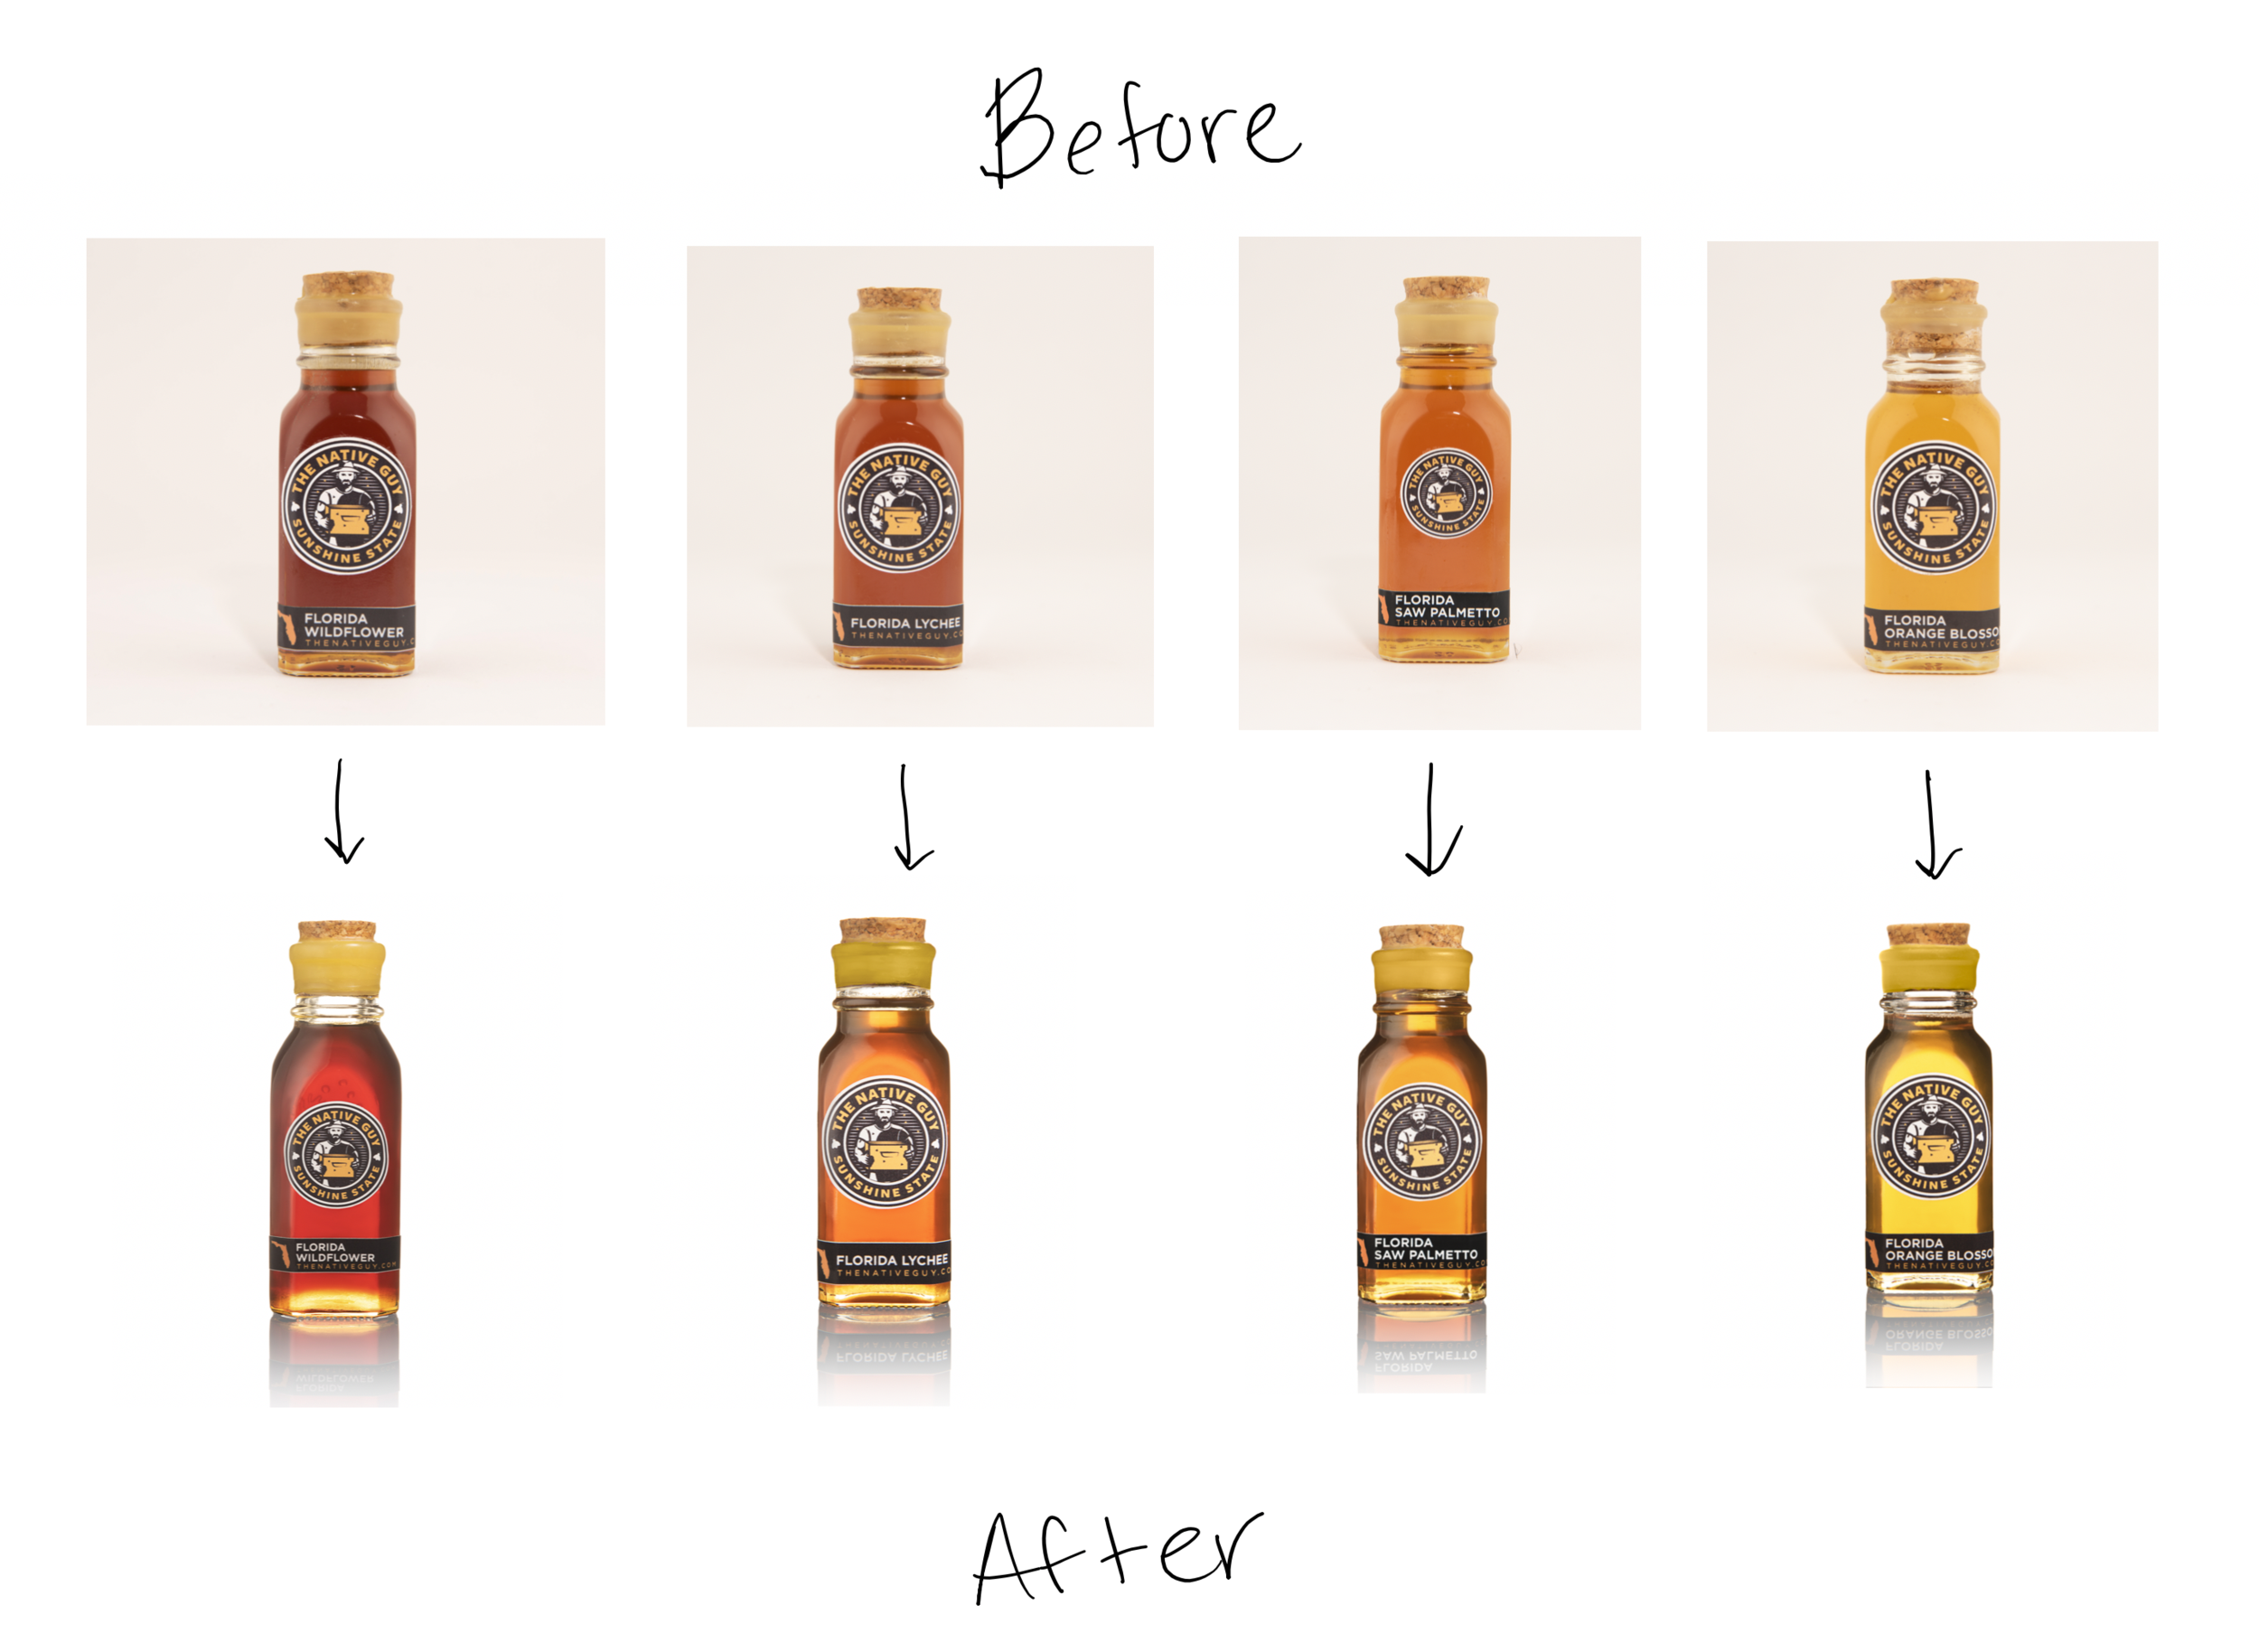
BEFORE: feels like an “ehhh” photo. Lacking depth, excitement, and value.
AFTER: Bright, colorful, defined edges for depth, nice reflection.
ADDITIONAL SHOTS